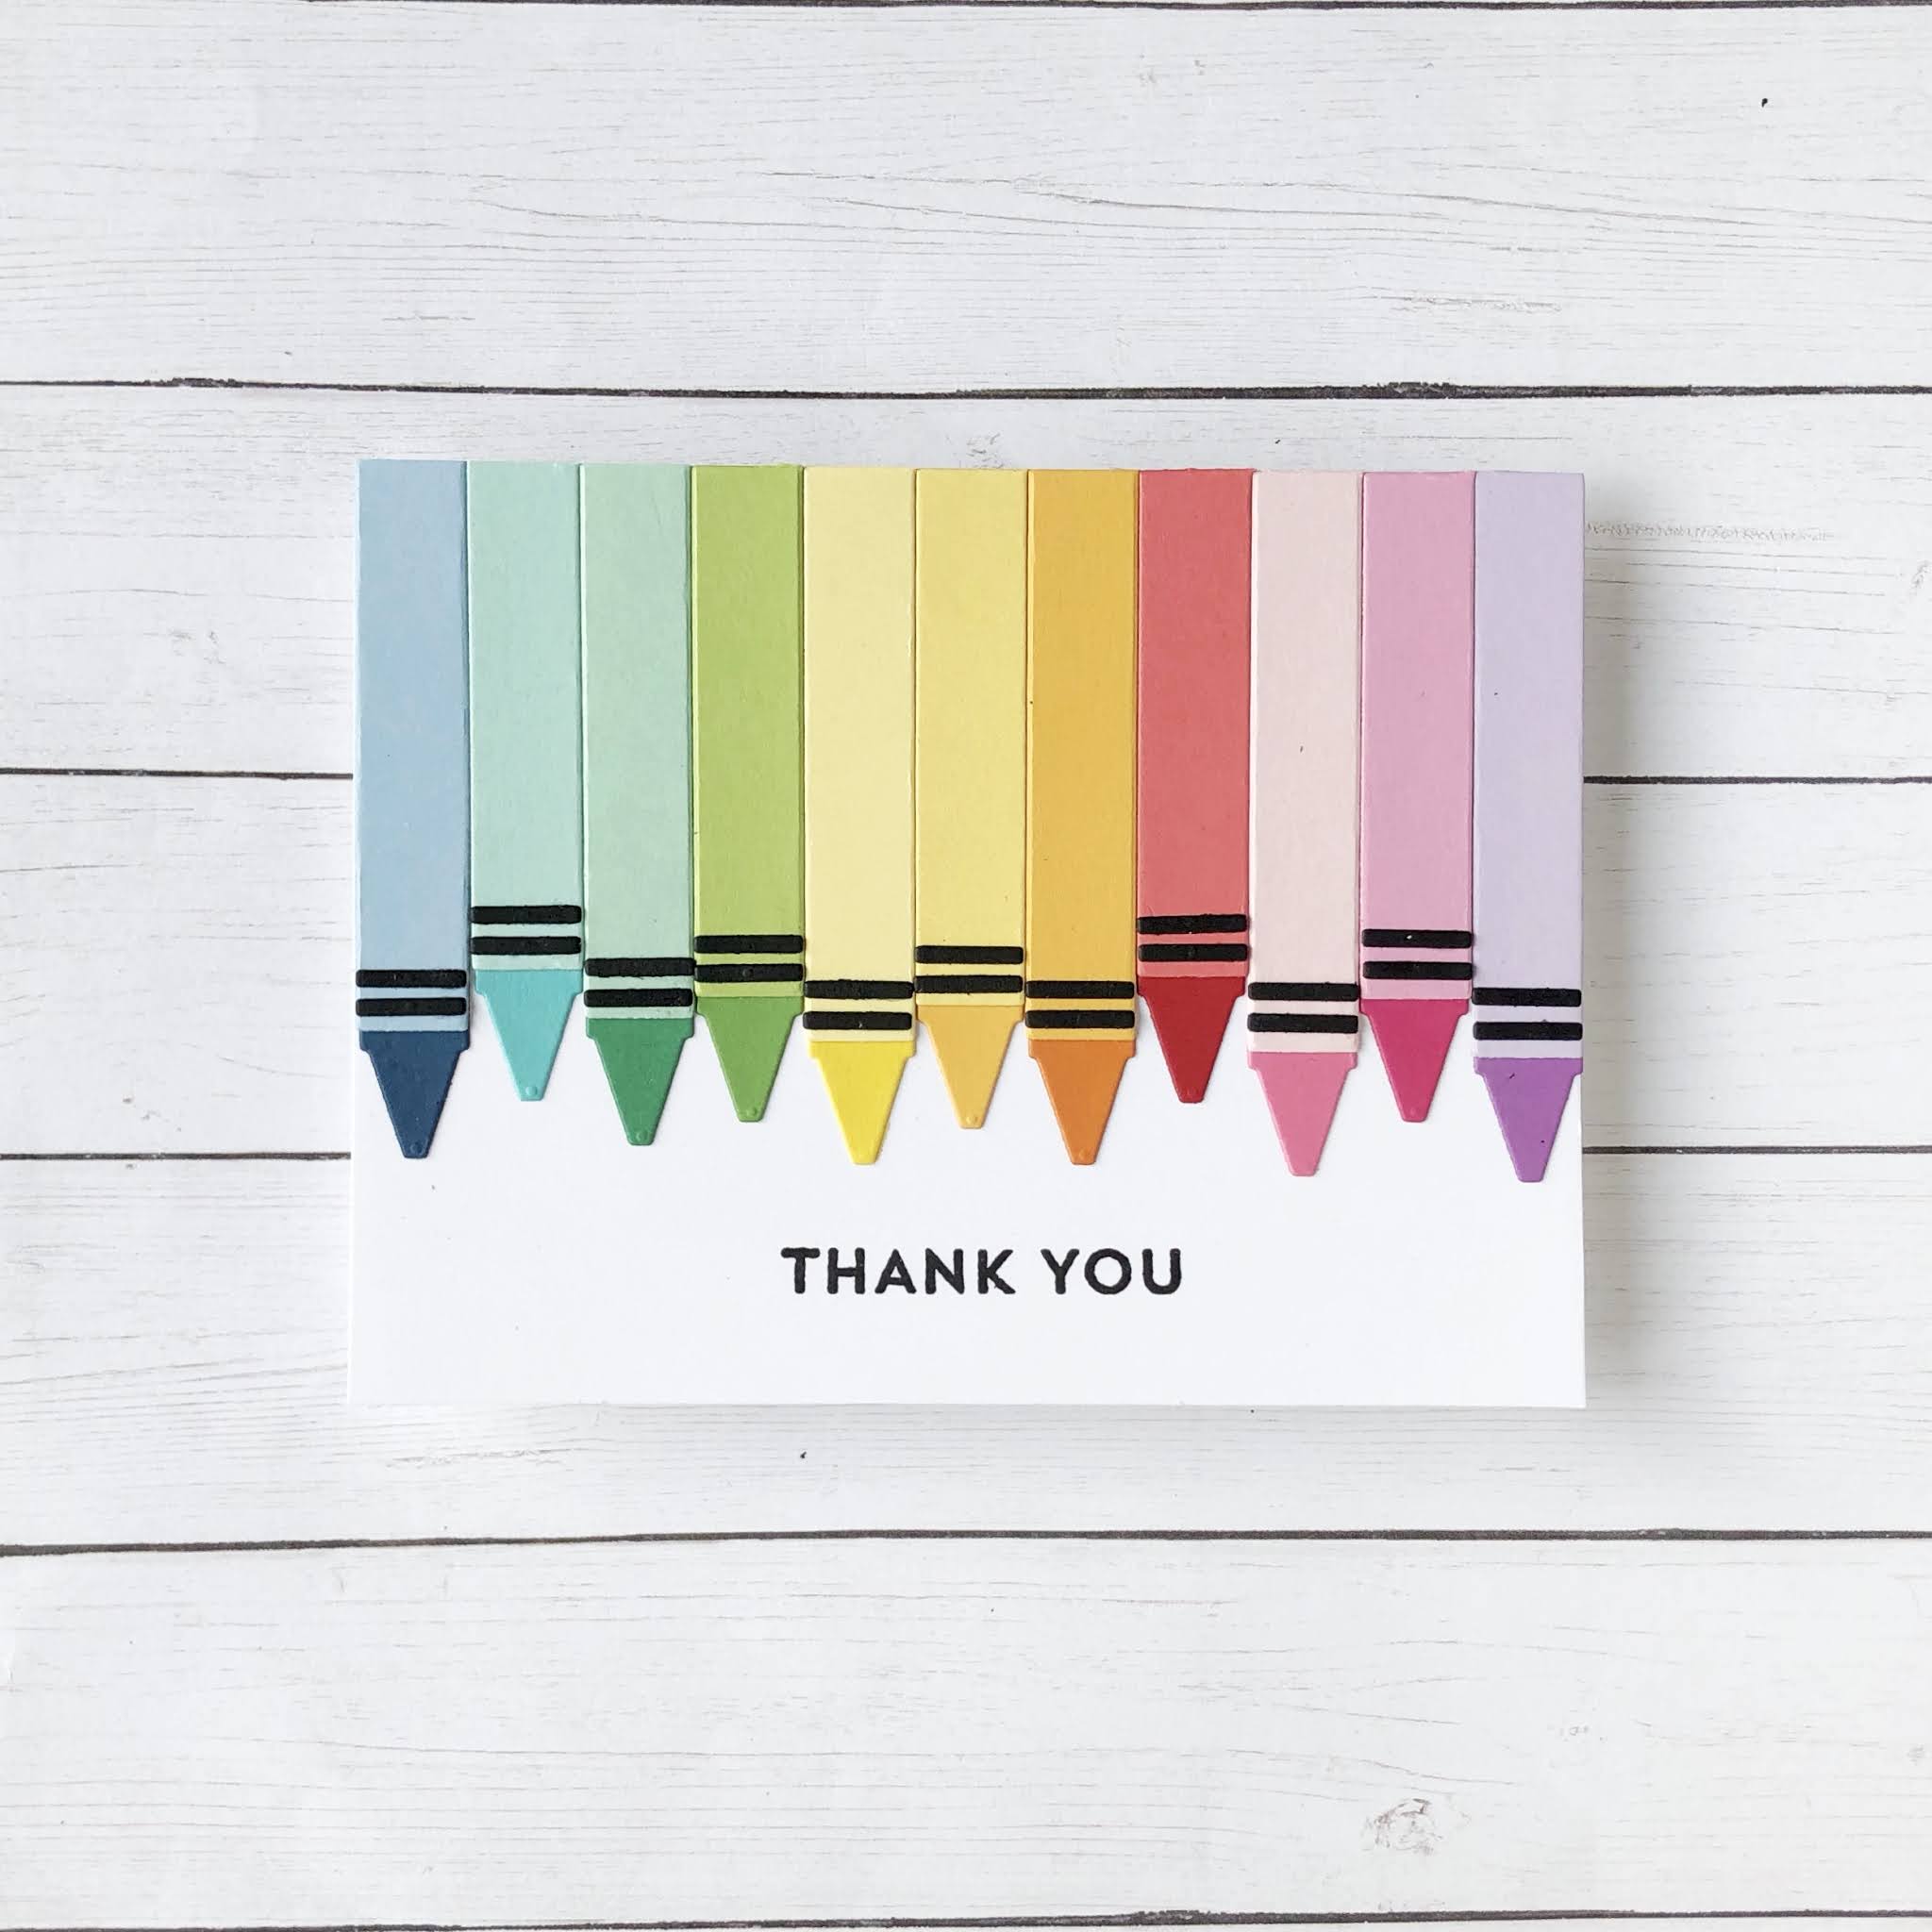
Hello! I'm so excited to share some special projects with you today. Some of our biggest blessings have been our childrens' school teachers. They have been amazing! Every year my gratitude deepens for these incredible men and women. I had lots of thank yous to make, and here is a sampling of them. I cut and glued at least 100 crayons, probably more, but it was worth it. Get ready for a long post, but it is full of oodles of pictures, so hopefully you'll enjoy it. (And if you are wondering, my favorite project is last.)
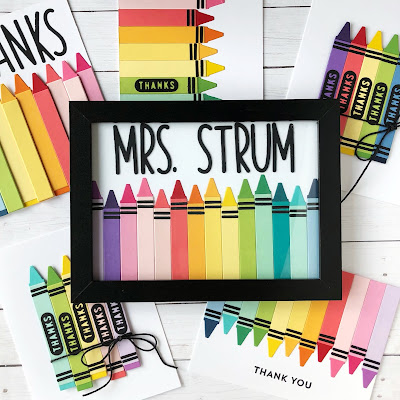
I have been eyeing Concord & 9th's Color Me Happy dies for quite some time now, and when I contemplated Teacher Appreciation gifts this year I knew they would be perfect.
My first card was very basic and the quickest to put together. I used primary colors, just like you would pull out of a standard crayon box. I adhered all the crayons to a smaller square, tied a bow around them, and popped the whole panel up for a little dimension.
For my second card, I used the same idea, but made it a tad more playful.
I swapped the colors for their pastel counterpart and staggered the crayons. Just a couple tiny changes, but I think it altered the whole feel of the card.
I was having so much fun making little crayons. SO MUCH! It was like buying school supplies at the beginning of the school year. :D So naturally I had to make a whole rainbow of crayons.
And the result made me so happy that once I glued them on, I didn't want to cover any of it up, so I simply cut the "thanks" crayon center from the Color Me Happy dies, and adhered it to a single crayon.
Why make one rainbow of crayons when you could have two?
So the next card was born. I'm not going to lie...these take some time to put together, but if you die cut and glue all the bits of the crayons together, so you just have a giant stack of 100+ crayons to choose from, the card creation process moves along much quicker! To finish this card, I stamped a simple "thank you" from Concord 9th's
Blooms Fill-in Stamp Set.
After all was said and done I had a few crayons leftover. This time I left the black stripes off just because...okay, truthfully it was so late and I was exhausted and didn't want to have to cut and glue any more on...so I embraced a different look. Haha. Anyhow, I cut "thanks" using the
Tall Type Alphabet dies, popped up every other crayon for a little dimension, and called it good.
Okay, you get a story for my final and favorite project. One teacher in particular this year holds an extra special place in our hearts. My littlest isn't old enough for school yet, but she came every day with me to pick up the other kids from school. One particular teacher greeted us every single day, sometimes litterally running over to our car to say hello. My littlest calls her "my friend". She is the only person she calls "my friend" and it is a term of true endearment. This teacher is full of sunshine and love and truly brightened our days. She is moving this summer several hours away, and we all cried when we said goodbye. We wanted to make an extra special gift for her to take to her new classroom.
This piece is 5x7 in size (well, just a teeny bit less than 7" wide) and 14 crayons fit perfectly across it. I used 28 colors of cardstock....30 if you count black and white....from Concord & 9th, Papertrey Ink, and a one from Hobby Lobby.
I was thrilled with how perfectly the
Tall Type Alphabet dies from Concord & 9th paired with the crayons. Truly a match made in heaven!
I love how this turned out, but I know a lot of that has to do with how much we love her. I probably sound like a broken record, but the joy of creating is exponentially greater when I create with specific people in mind.
One last shot of them all together...
Phew. Did you make it all the way to the bottom? Thanks for hanging in there! Wishing you a bright, colorful rest of your week!